
Overview
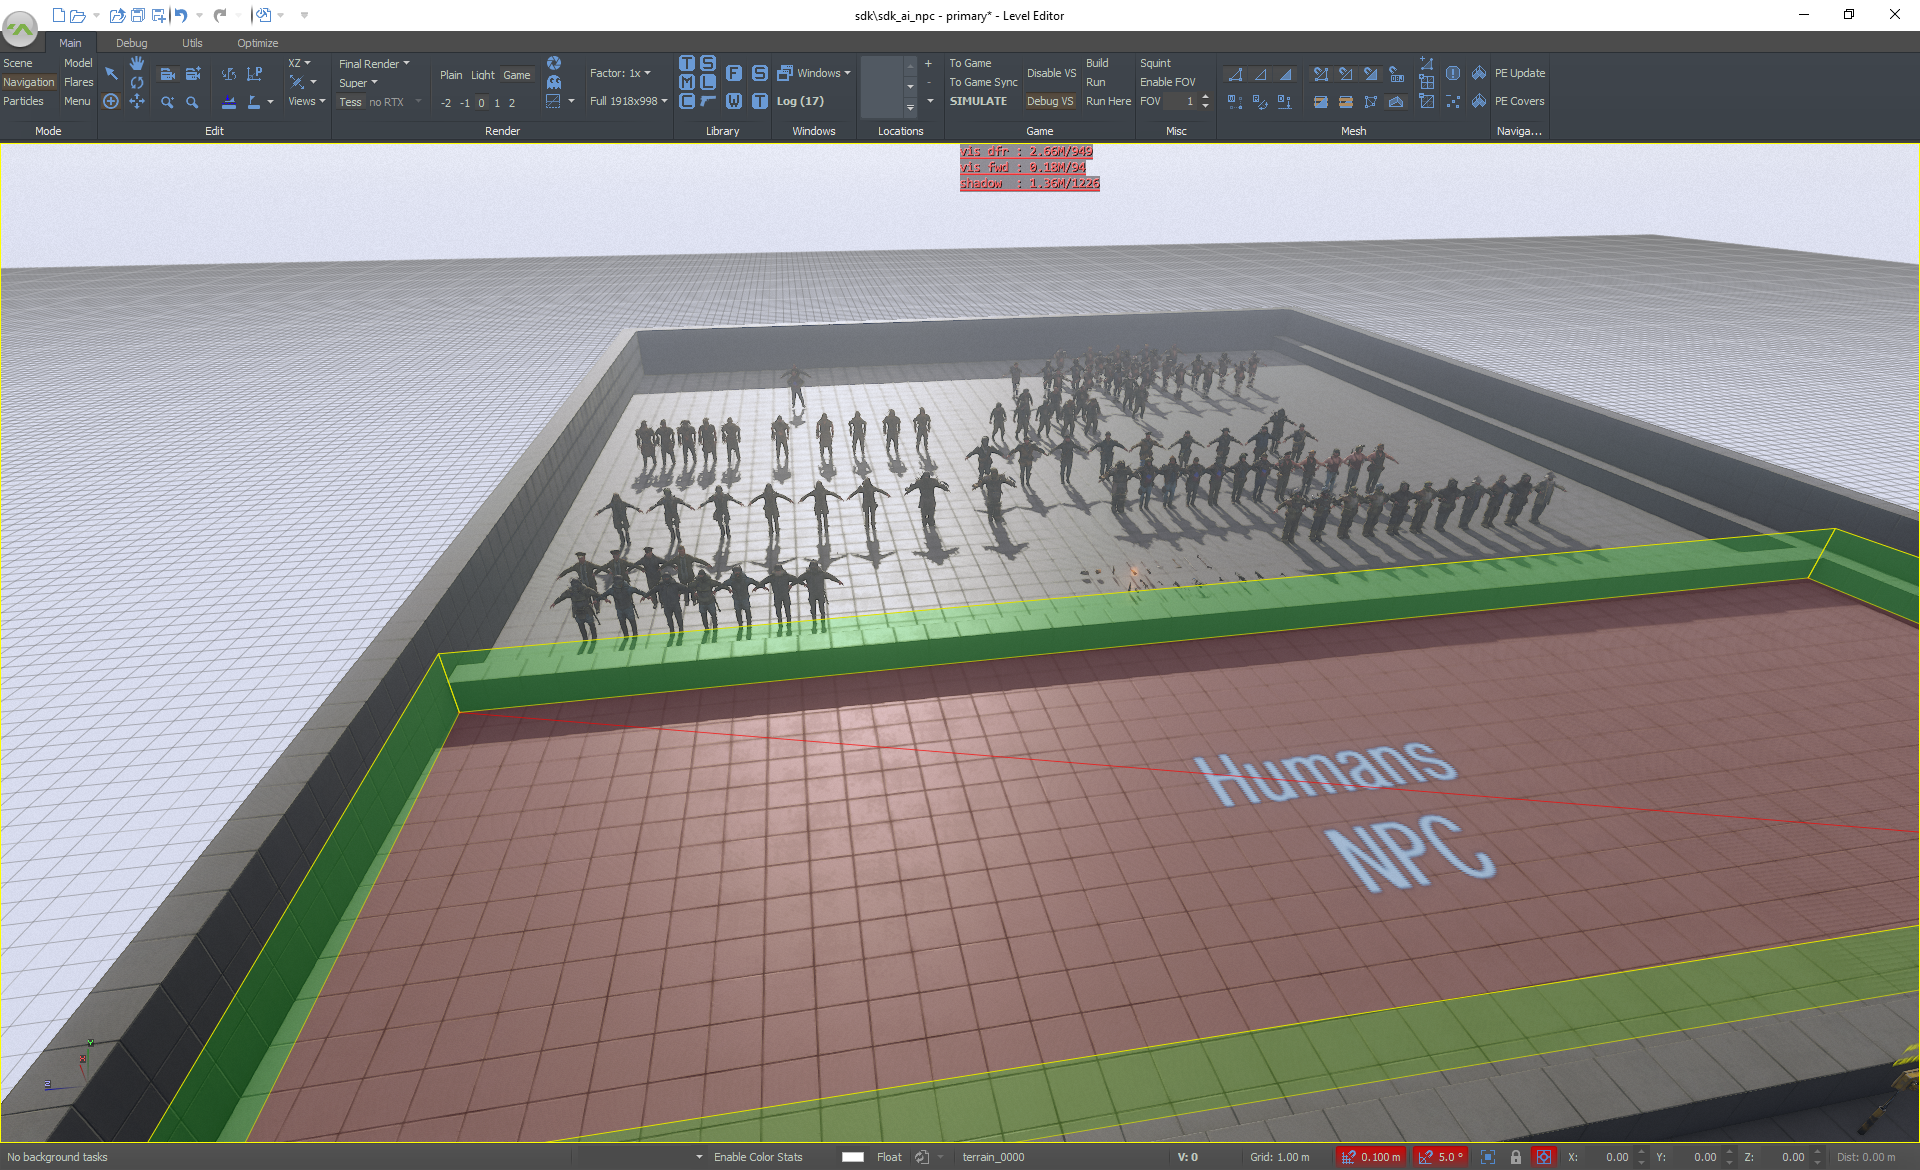
The Navigation Mode allows you to create/edit the navigation mesh (aka NavMesh or AI map) of a level. This is required for the AI (enemies, friends, etc.) to move around the level. They will always be inside a Navmesh, otherwise, errors may occur.
To access the Navigation Editor, look for Navigation on the Mode Toolbar.

This mode allows only for creating/editing the navmesh, so you won't be able to select meshes, enemies, covers, etc. If you haven't created a navmesh yet, the scene appears in the game mode (CTRL+E), otherwise, you should see your navmesh in the scene.
Tools
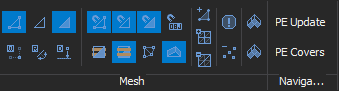
In the Navigation Mode, you have 2 sub-menus: mesh and navigation.
Most of them are self-explanatory, but here is some information about them. For in-editor information, just hover the mouse on top of the tool you want to use.
| Icon | Tool | Description | Shortcut |
|---|---|---|---|
| Select Vertex, Edge, Face | Toggle vertex, edge, and face selection. | V, E, F (respectively) |
 | Weld Vertex | Combine 2 or more vertices together (similar to merge/merge to center in Maya). | W |
 | Rotate Edge | Will change the "triangulation" of the edge. This will simply change the vertex that is connected to the edge. Does not work on borders. | R |
 | Drop Vertex | Will attach the vertex to the nearest surface. | D |
| Snap Vertex, Edge, Face, Object | Toggle vertex, edge, and face snapping. | ALT+ V / E / F / O (respectively) |
| Top View, Near View | Makes the navmesh overlap on top/near objects. Good for seeing the navmesh on top of everything. | Z, N (respectively) |
 | Fan | Toggle On/Off for a fan creation. Pay attention to the color of the vertices. | M |
 | Draw Border | Show/hide borders of a navmesh. | B |
 | Create Tri | Creates a triangle with the selected vertices. | C |
 | Tesselate Tris | Face Tessellation Utility – a convenient way to create AI maps for terrains.
|


| T | ||
 | Simplify Selected | Simplifies the selected tris. | CTRL+D |
 | Check Errors | Check for errors in the navmesh. It will automatically select those faces that contain errors.
| CTRL+V |
 | Unassigned Verts | Selects vertices that are unassigned to a navmesh. Delete them! | CTRL+U |
 | Select Adj Tris | Select adjacent faces/tris. | CTRL+T |
 | Select Adj Verts | Select adjacent vertices. | CTRL+P |
| PE Update | Calculates any changes you've made to the navmesh. It will ask you to re-calculate, if you changed a navmesh and pressed "play". | CTRL+ALT+S | |
| PE Covers | Calculates any changes you've made to covers. It will ask you to re-calculate, if you changed a navmesh and pressed "play". | CTRL+ALT+S | |
Creating a navmesh
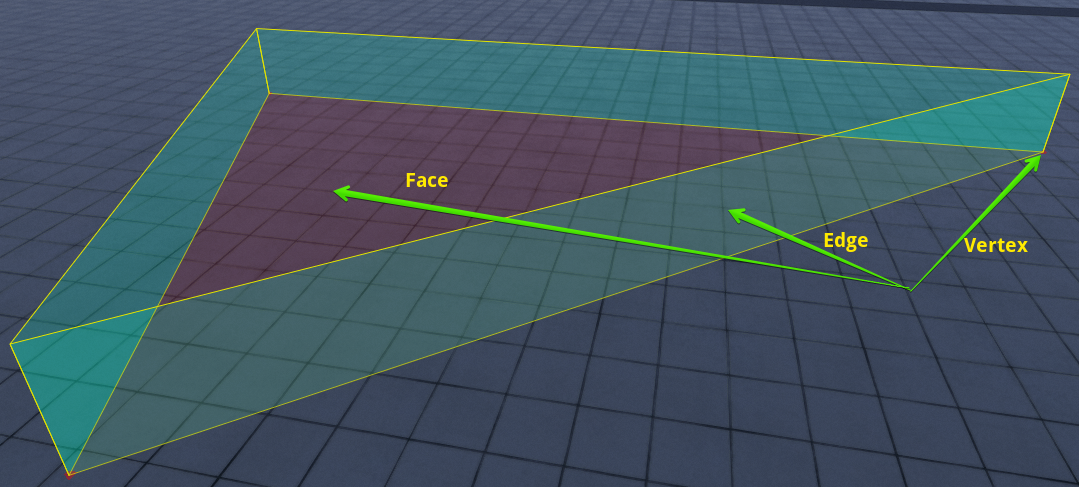
Navmesh is like a 3D model, it has vertices, edges, and faces.
There are 2 ways to create a navmesh:
- Use the Shortcut: CTRL CTRL+RMB to place a vertex. Continue to add two more to create a triangle.

- Use the Shortcut: RMB RMB to place a vertex. Continue to place two more, select the three of them, and use the Shortcut: C to create a triangle.

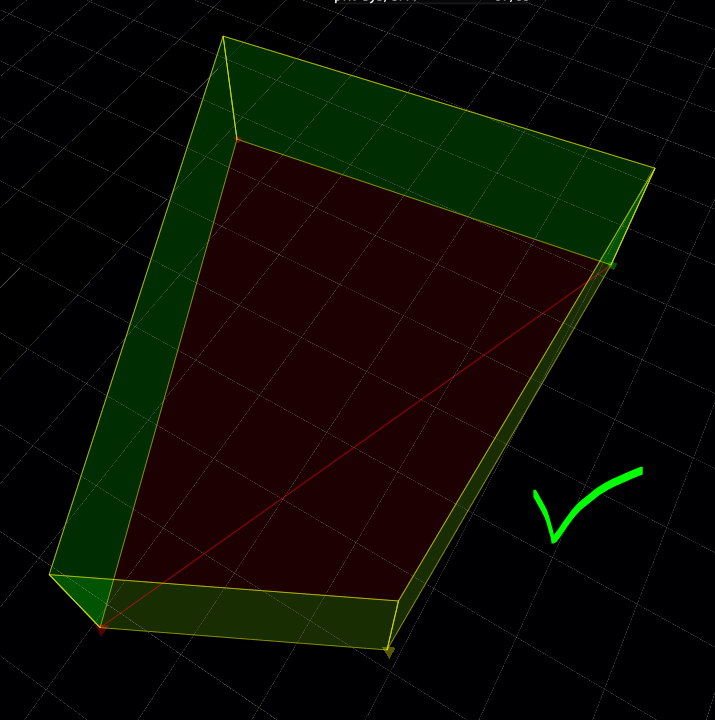
After that, you should have something like the image below. The green walls represent boundaries of the navmesh, while the red ground represents actual area that the AI can use.

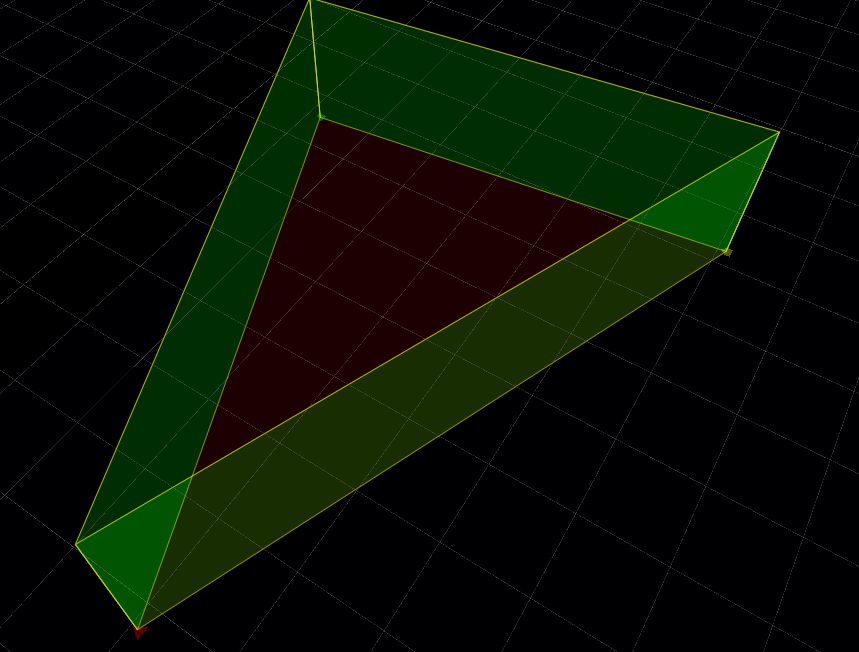
Vertices' colors have meanings:
Color | Meaning |
|---|---|
| Red | Vertex is connected to a navmesh, and it's not selected. |
| Green | Previous selected vertex/vertices. During creation, the next vertex that you create will be connected to green and yellow vertices. |
| Yellow | Current selected vertex. |
| Blue | A vertex that is NOT connected to a navmesh, and that's not selected. Recommended: delete if they are not going to be used! |
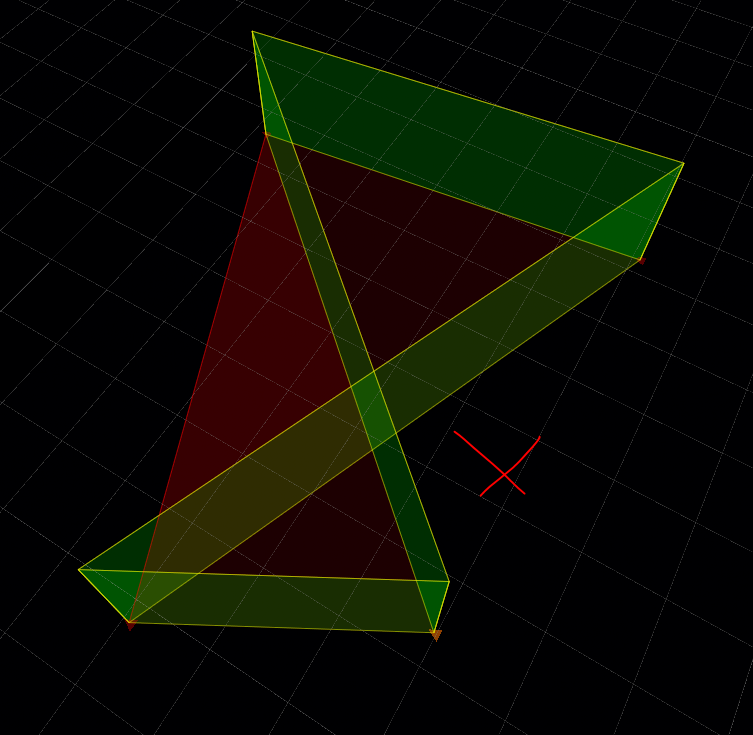
| Tip |
|---|
Take some time to get familiar with the creation of navmeshes. In the beginning, errors like these may occur frequently.
|
Adjust it to your scene. Remember, the red area is exactly where the AI/NPC will walk, so if you need more detail, use the tessellation tool (explained below).


After adjusting to your scene
| Tip |
|---|
When creating a navmesh, think in 3-vertices faces instead of 4-vertices faces. |
There is no need to connect every navmesh at the level, or to create it perfectly. NPCs or monsters can use covers to "jump" between navmeshes and have auto-adjustments for the feet height.
| Warning |
|---|
Covers must be located on one layer! |

Editing the AI-map
Adding vertices
- Toggle the vertex selection mode (shortcut: V).
- Add new vertices to your navmesh (shortcut: Ctrl + RMB).
Adding the edges
There are 2 ways to add new edges:
- Toggle the edge selection mode (shortcut: E).
- Add new edges to your navmesh (shortcut: Ctrl + RMB).
Or
- Toggle the edge selection mode (shortcut: E).
- Add new edges to your navmesh (shortcut: Ctrl + Alt + RMB).

Selecting elements
You can select elements by clicking the LMB on the element. If you want to select several objects, hold Ctrl while selecting.
| Warning |
|---|
Pay attention at which selection mode you're currently on. For example, if you selected the Select Vertices mode, you can select only the vertices. |
To select many vertices, faces, or edges at once (which depends on what selection mode is active), drag the mouse over the elements while holding the LMB. All items that fall into the selection area will be selected.

Deleting elements
| Tip |
|---|
To remove several vertices or faces, hold Ctrl and select the chosen elements. |
- If the vertex selection mode is enabled, deleting the vertex (or vertices) will remove all triangles, to which the selected point belongs.
- If the face selection mode is enabled, this deletes only the selected faces.
Multi-Cut Tool
- On the active layer on which the AI map grid is located, hold down the combination Ctrl + Alt + LMB and drag. As you do so, a line will appear. When you release, a new vertex will be created at the intersection of the line and the edges.
- You can also cut from vertex to vertex.

Moving elements
To move an object, select and move it, holding LMB, to your desired place.
Properties
Common
| Option | Description |
|---|---|
| Type | Material which will be on the added face. |
| References | The count of faces for the selected type on the level. |
Vertex
| Option | Description |
|---|---|
| Position | The position of a vertex. |
| Lock to Heightmap | Objects can be locked to heightmap and stay on terrain with further updates. |
| Adjacency | The count of adjacent vertices to the selected. |
Face
| Option | Description |
|---|---|
| Material | This is a list of face types:
|
| Layer | A layer on which the face is located. |
| Panel | ||||
|---|---|---|---|---|
| ||||
|
Useful shortcuts
| Option | Shortcut |
|---|---|
| Selects adjacent vertices. In the vertex select mode, selecting one of the vertices of the AI map and pressing CTRL+P will select all of the vertices that are linked to the same contiguous AI-map region. | CTRL+P |
| Selects adjacent faces. In the face select mode, selecting one of the faces of the AI map and pressing CTRL+T will select all of the faces that are linked to the same contiguous AI-map region. | CTRL+T |
| Copies the selected AI-map chunk to the clipboard. | CTRL+C |
| Pastes the copied AI-map chunk into the position of the cursor. | CTRL+V |
| Pastes the copied AI-map chunk into its original coordinates. Useful if you want to copy the AI map from one level to another. | CTRL+ALT+V |
Selects contiguous faces. | Double click on a vertex |